Robotic Method and Instrument to Efficiently Synthesize Faulty Conditions and Mass-Produce Faulty-Conditioned Data
IEEE International Conference on Robotics and Automation (ICRA) 2023

Radial Weight Design
End Effector
Sensor Mount
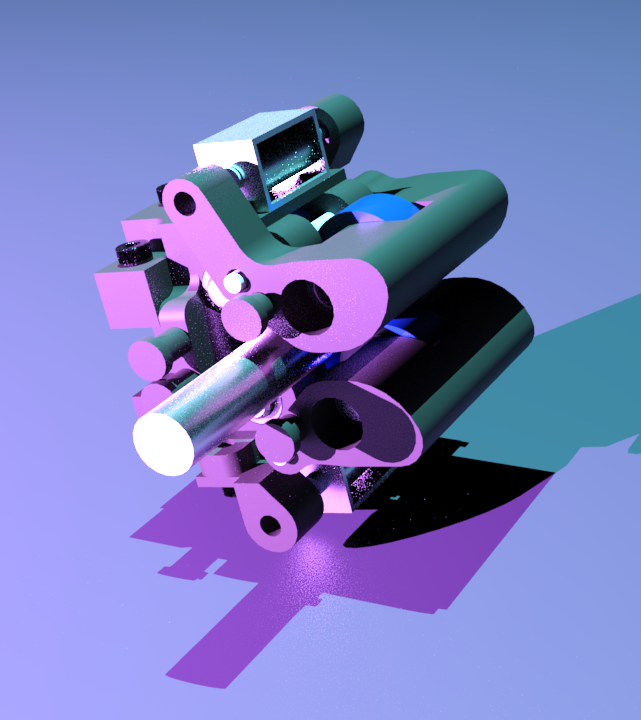
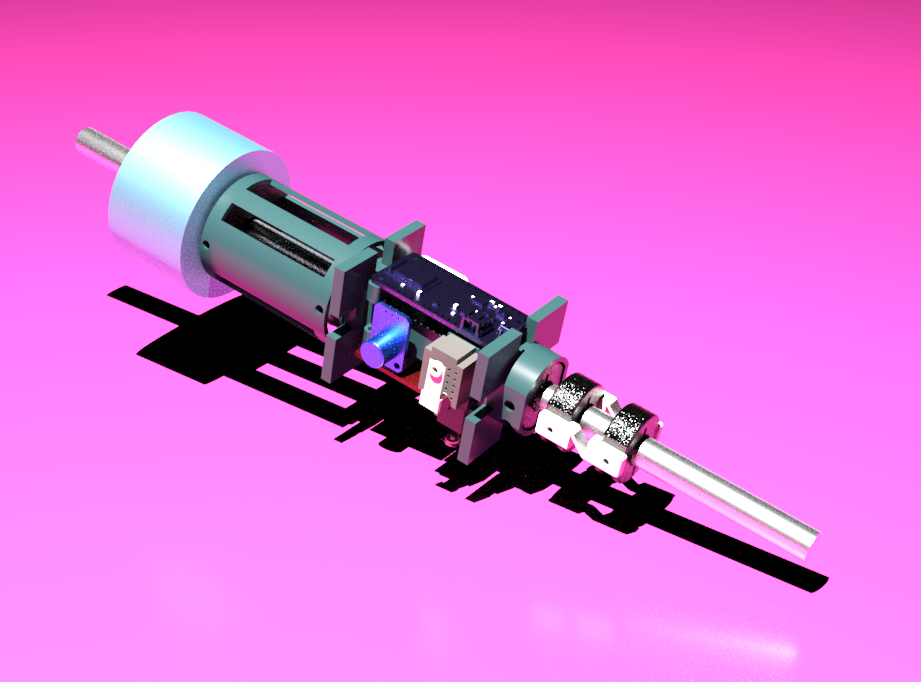
some fun renderings I did of my projects
I worked with the MIT Mechatronics Research Lab run by Professor Kamal Youcef-Toumi under the supervision of Steven Yeung as an undergraduate researcher on a project developing a plant to inject faults on and measure the resulting behavior of a rotating rod. My work was to design and fabricate physical elements of the plant for Dr. Yeung's final iteration of the project.
ROTATING MOUNT
My main project at this lab was to develop a system for placing weights at discrete radial positions on the rod. The challenge was that the weights needed to be placed by a robot, ideally as the rod was rotating. This meant that the system had to somehow require as little manipulation as possible to precisely place the weights at each point. Further, we wanted the possibility for placing the weights at discrete distances from the rod as well.
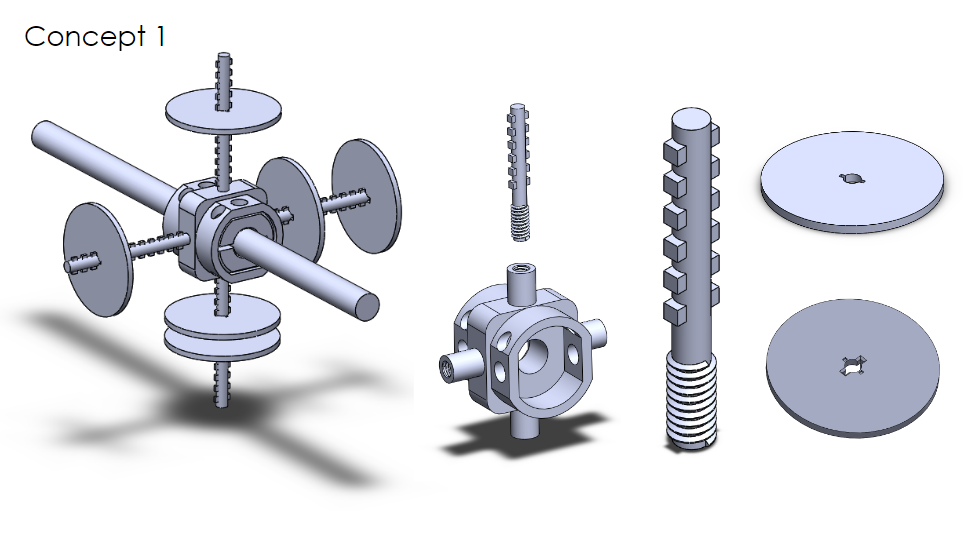
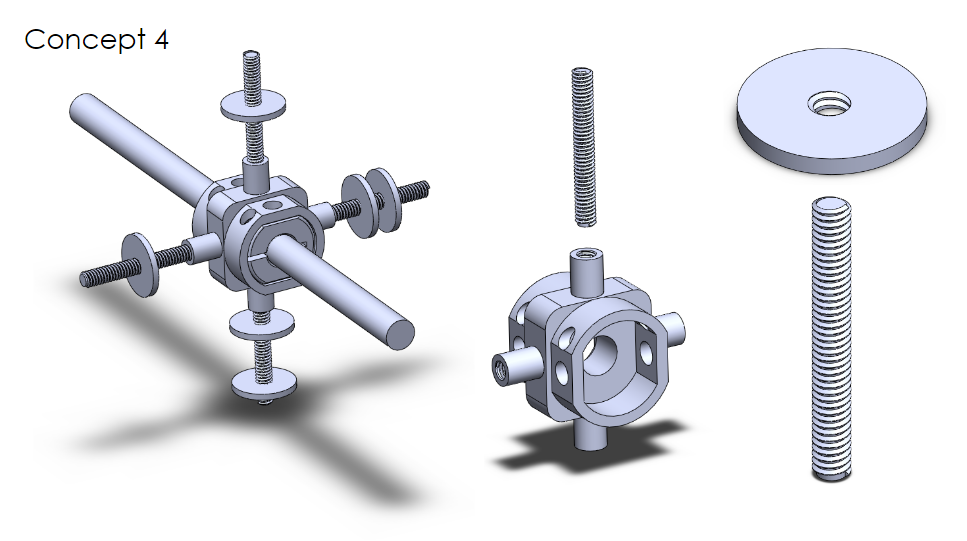
designing a radial placement mechanism


I investigated a number of ways this task could be accomplished as simply as possible. These first designs assumed a "star" of sticks radiating from the main rod. In these designs I explored ways to rotate weights onto a stick and have it lock at a specific height.

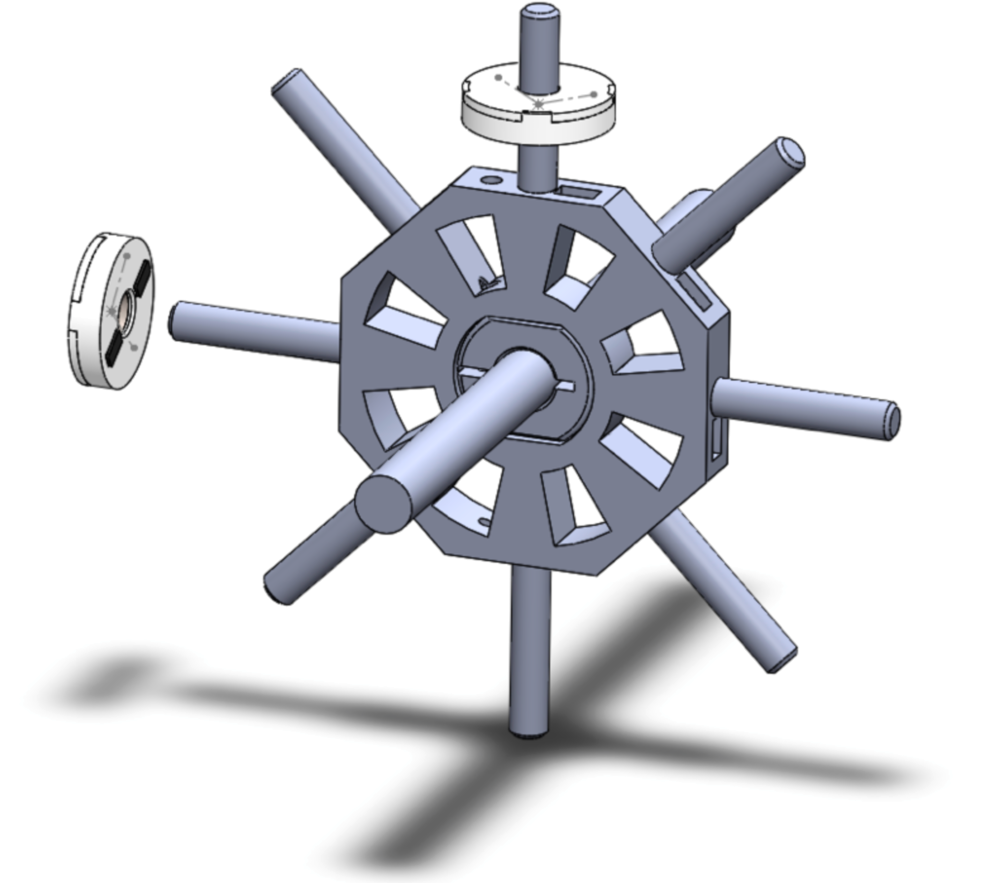
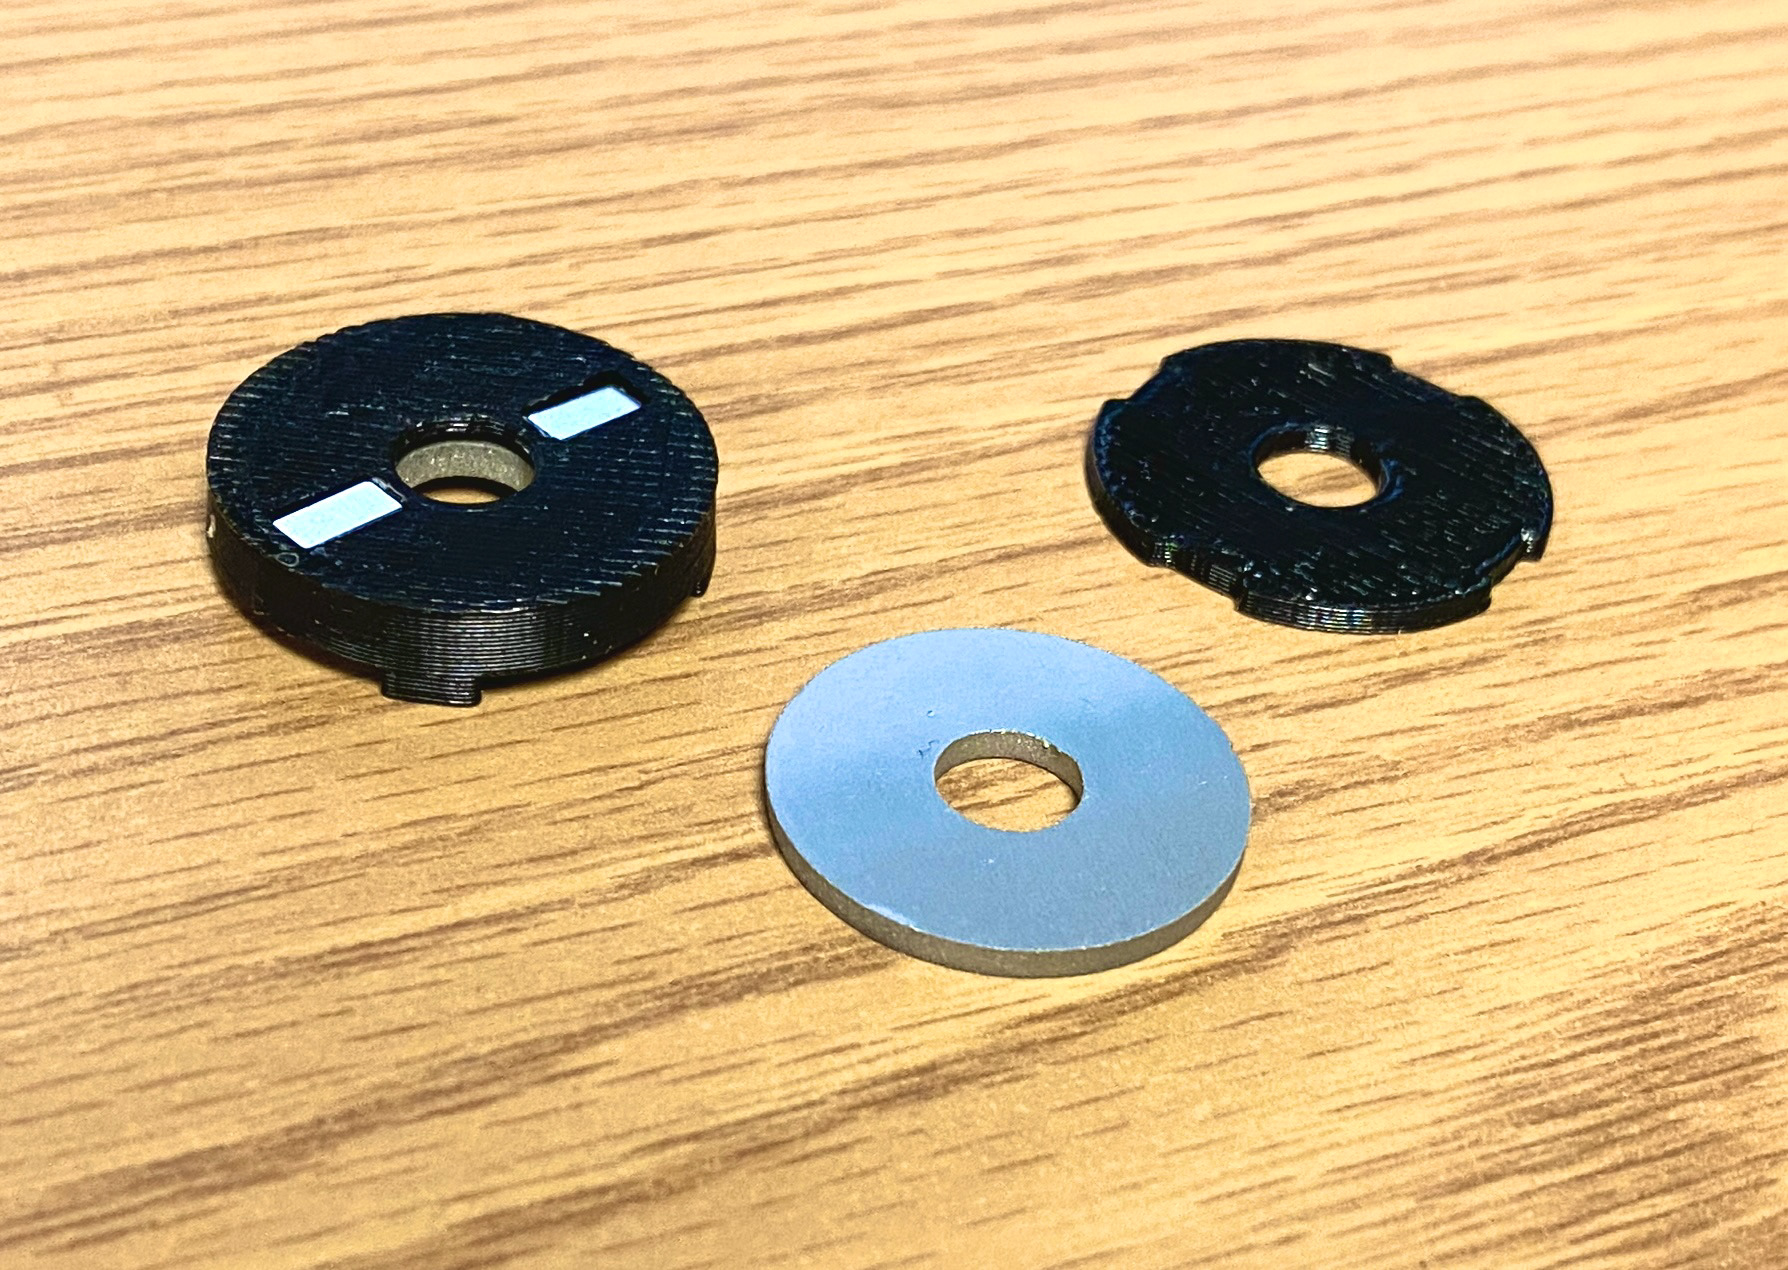
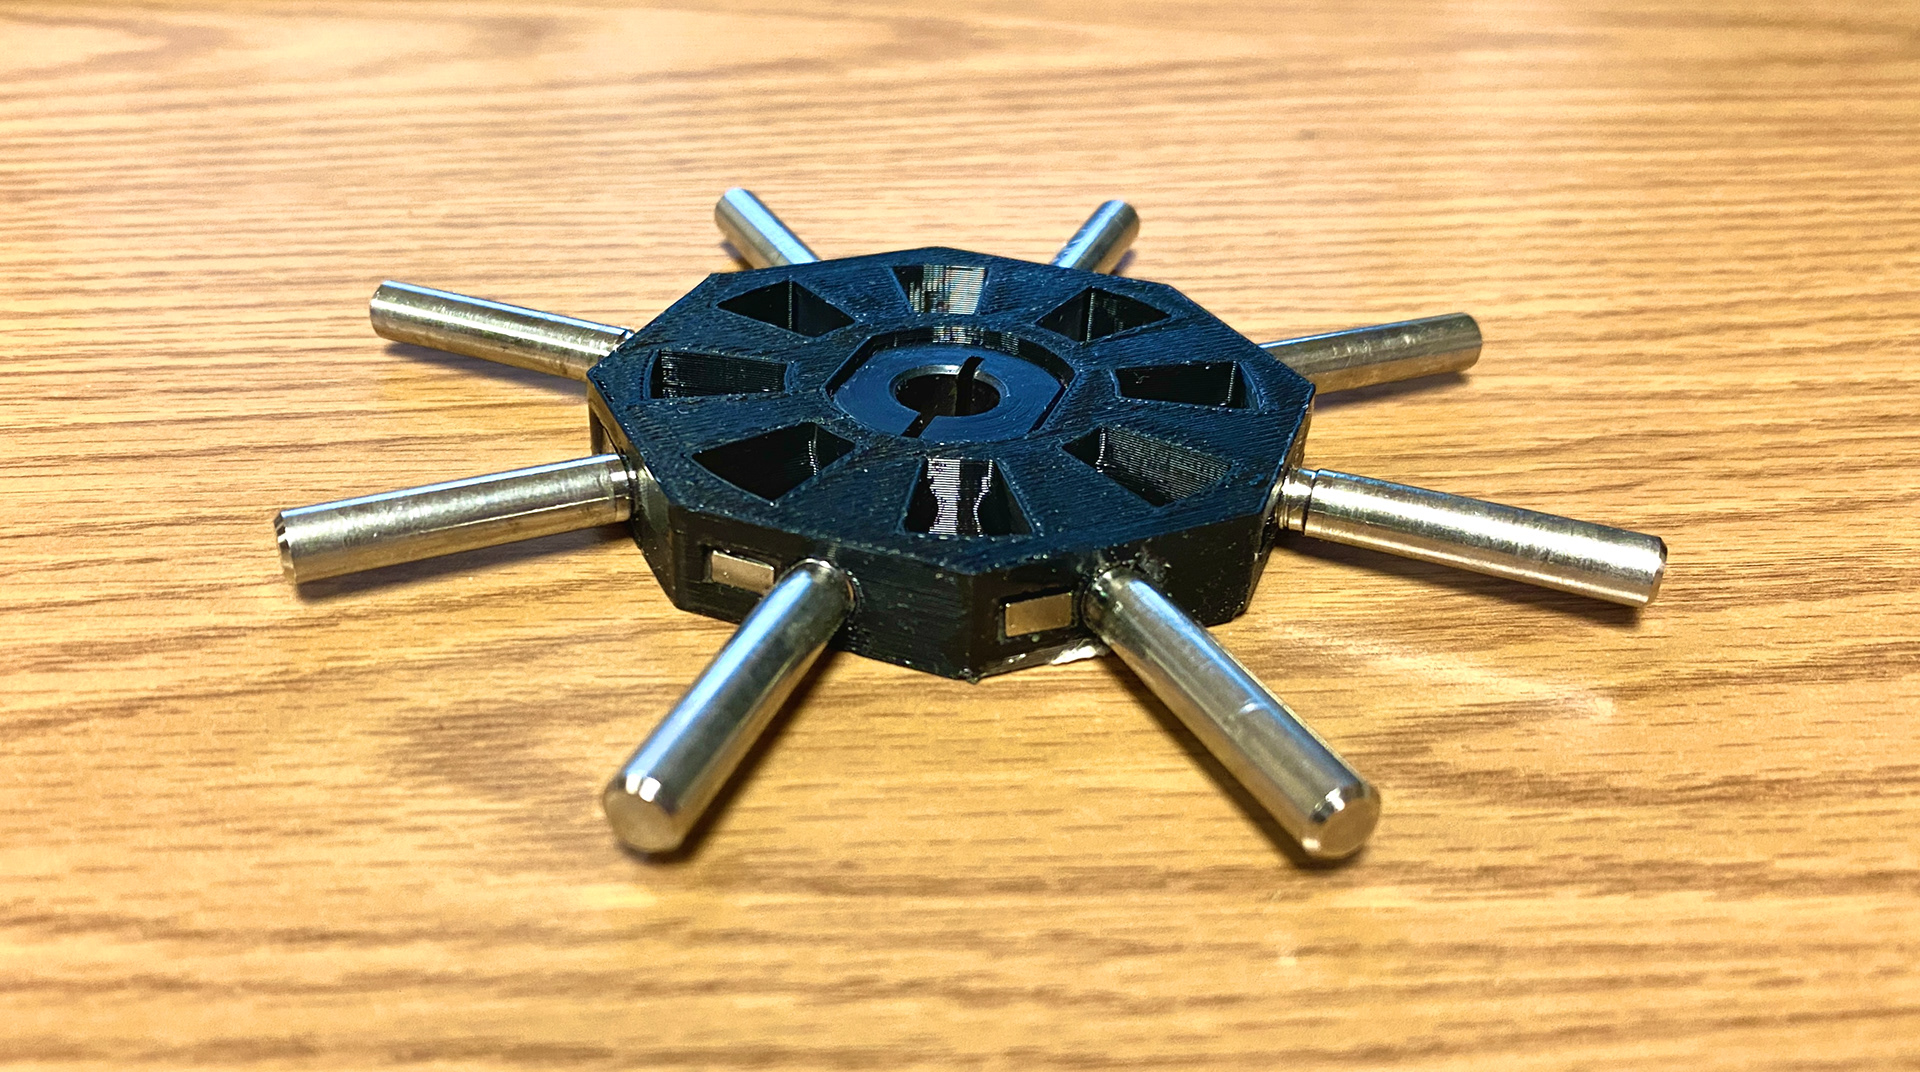
For the first prototype of this project I just wanted to accomplish the ability to place weights radially on a rod, not at positions far from it. I made a 3D printed hub with off-the-shelf rods emanating from the center, each screwed into heat-inserts in the hub. The weights were composed of steel rings with 3D printed caps that precisely secured magnets (this was easier than machining holes for the weights onto the steel rings themselves.) The magnets on these weights lined up with the magnets on the hub so that when a weight was placed on a small rod, it would stick in place on the hub itself and hold until manually removed.
End Effector
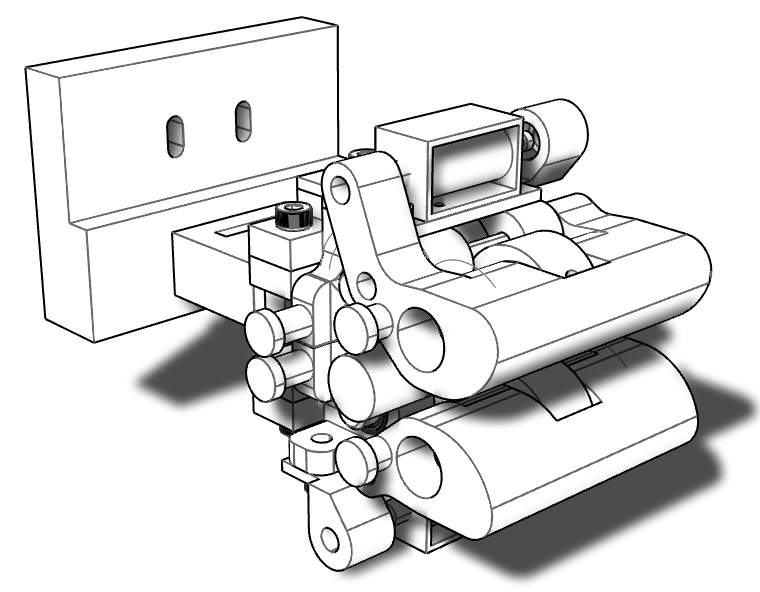
The plant's previous end effector had been able to effectively push the rod, but Dr. Yeung wanted the ability to pull it as well. I finalized one of Dr. Yeung's earlier designs for an attachment to his current end effector that would allow the plant to passively grab then lock onto the rod.
The grabber is made of two "doors" that pivot on radial hinges when pushed up. When no longer pushed, they snap back into their original position with springs, allowing the rod to passively enter the end effector's grasp when pushed into it. The doors are then locked in place by two small solenoids in order to hold the rod in the grasp until released.

SENSOR MOUNT

My first task in this lab was to redesign the mount that all of the rotating rod's sensors would go on. This was essentially a geometric problem, fitting all of the sensors into the smallest area that could still be assembled by hand.

The mount is 3D printed and fit onto the rod with shaft collars that are bolted through the printed piece. The final assembly involves a slip ring to manage the wires as the rod continually rotates. The sensors are protected from getting stuck or bumped by the square shape of the shaft collar holders.